⚡ Panel & Array Specifications
Size Your Solar Strings
Configure panel parameters and series/parallel layout on the left to see total voltage, current, and wattage outputs instantly.
Home › Array Calculator
Design and calculate your solar panels string wiring configuration for MPPT charge controllers.
Configure panel parameters and series/parallel layout on the left to see total voltage, current, and wattage outputs instantly.
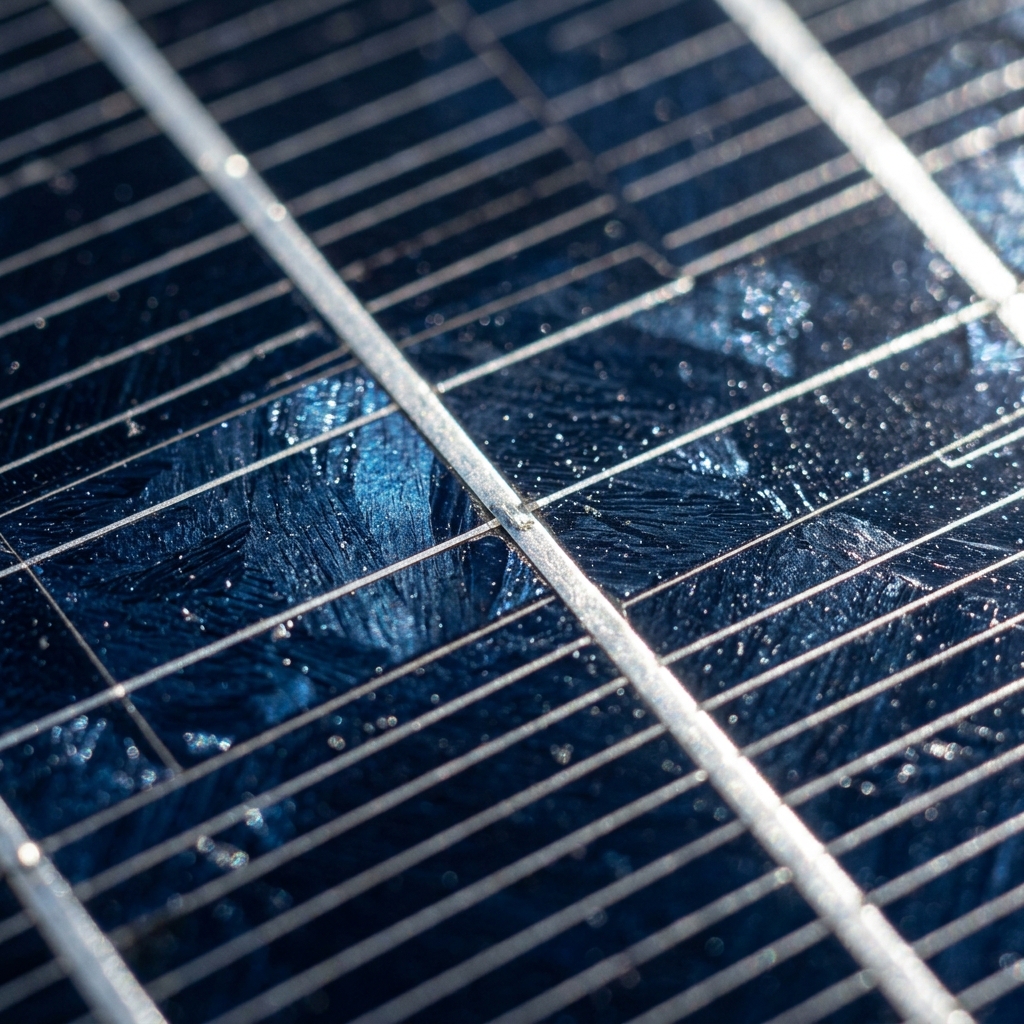
Wiring solar panels correctly is critical to matching the input voltage and current requirements of your solar charge controller or inverter. Whether you wire panels in series, parallel, or a combination of both determines the efficiency of power transmission and how the system handles partial shade.
In series wiring, you connect the positive terminal of the first panel to the negative terminal of the next panel. The voltage of each panel is added together, while the current (amperage) remains constant. Series configurations are ideal for MPPT (Maximum Power Point Tracking) controllers, which require high solar voltages to initiate charging, and help reduce wire transmission losses over long distances:
In parallel wiring, you connect all the positive terminals together and all the negative terminals together using MC4 branch connectors. The amperage of each panel is added together, while the system voltage remains constant. Parallel wiring is useful for lower voltage systems (e.g. 12V or 24V battery systems) and helps isolate shading issues, as a shaded panel does not reduce the current flow of the other panels:
For larger systems (above 1 kW), a combination of series and parallel is used to build strings. You connect multiple panels in series to form a string, and then connect those strings in parallel. This design allows you to increase both system voltage and current to match the sweet spot of your solar inverter's MPPT window.
A common mistake in solar string sizing is ignoring the temperature coefficient of the solar cells. As temperatures fall during winter mornings, the Open Circuit Voltage (Voc) of solar panels increases. If you size your strings too close to the inverter's maximum input voltage limit, the cold weather surge can burn out the charge controller's electronics.